
Understanding & Configuring CORS in ASP.NET Core
Secure, fast, and reliable cross-origin communication in ASP.NET Core

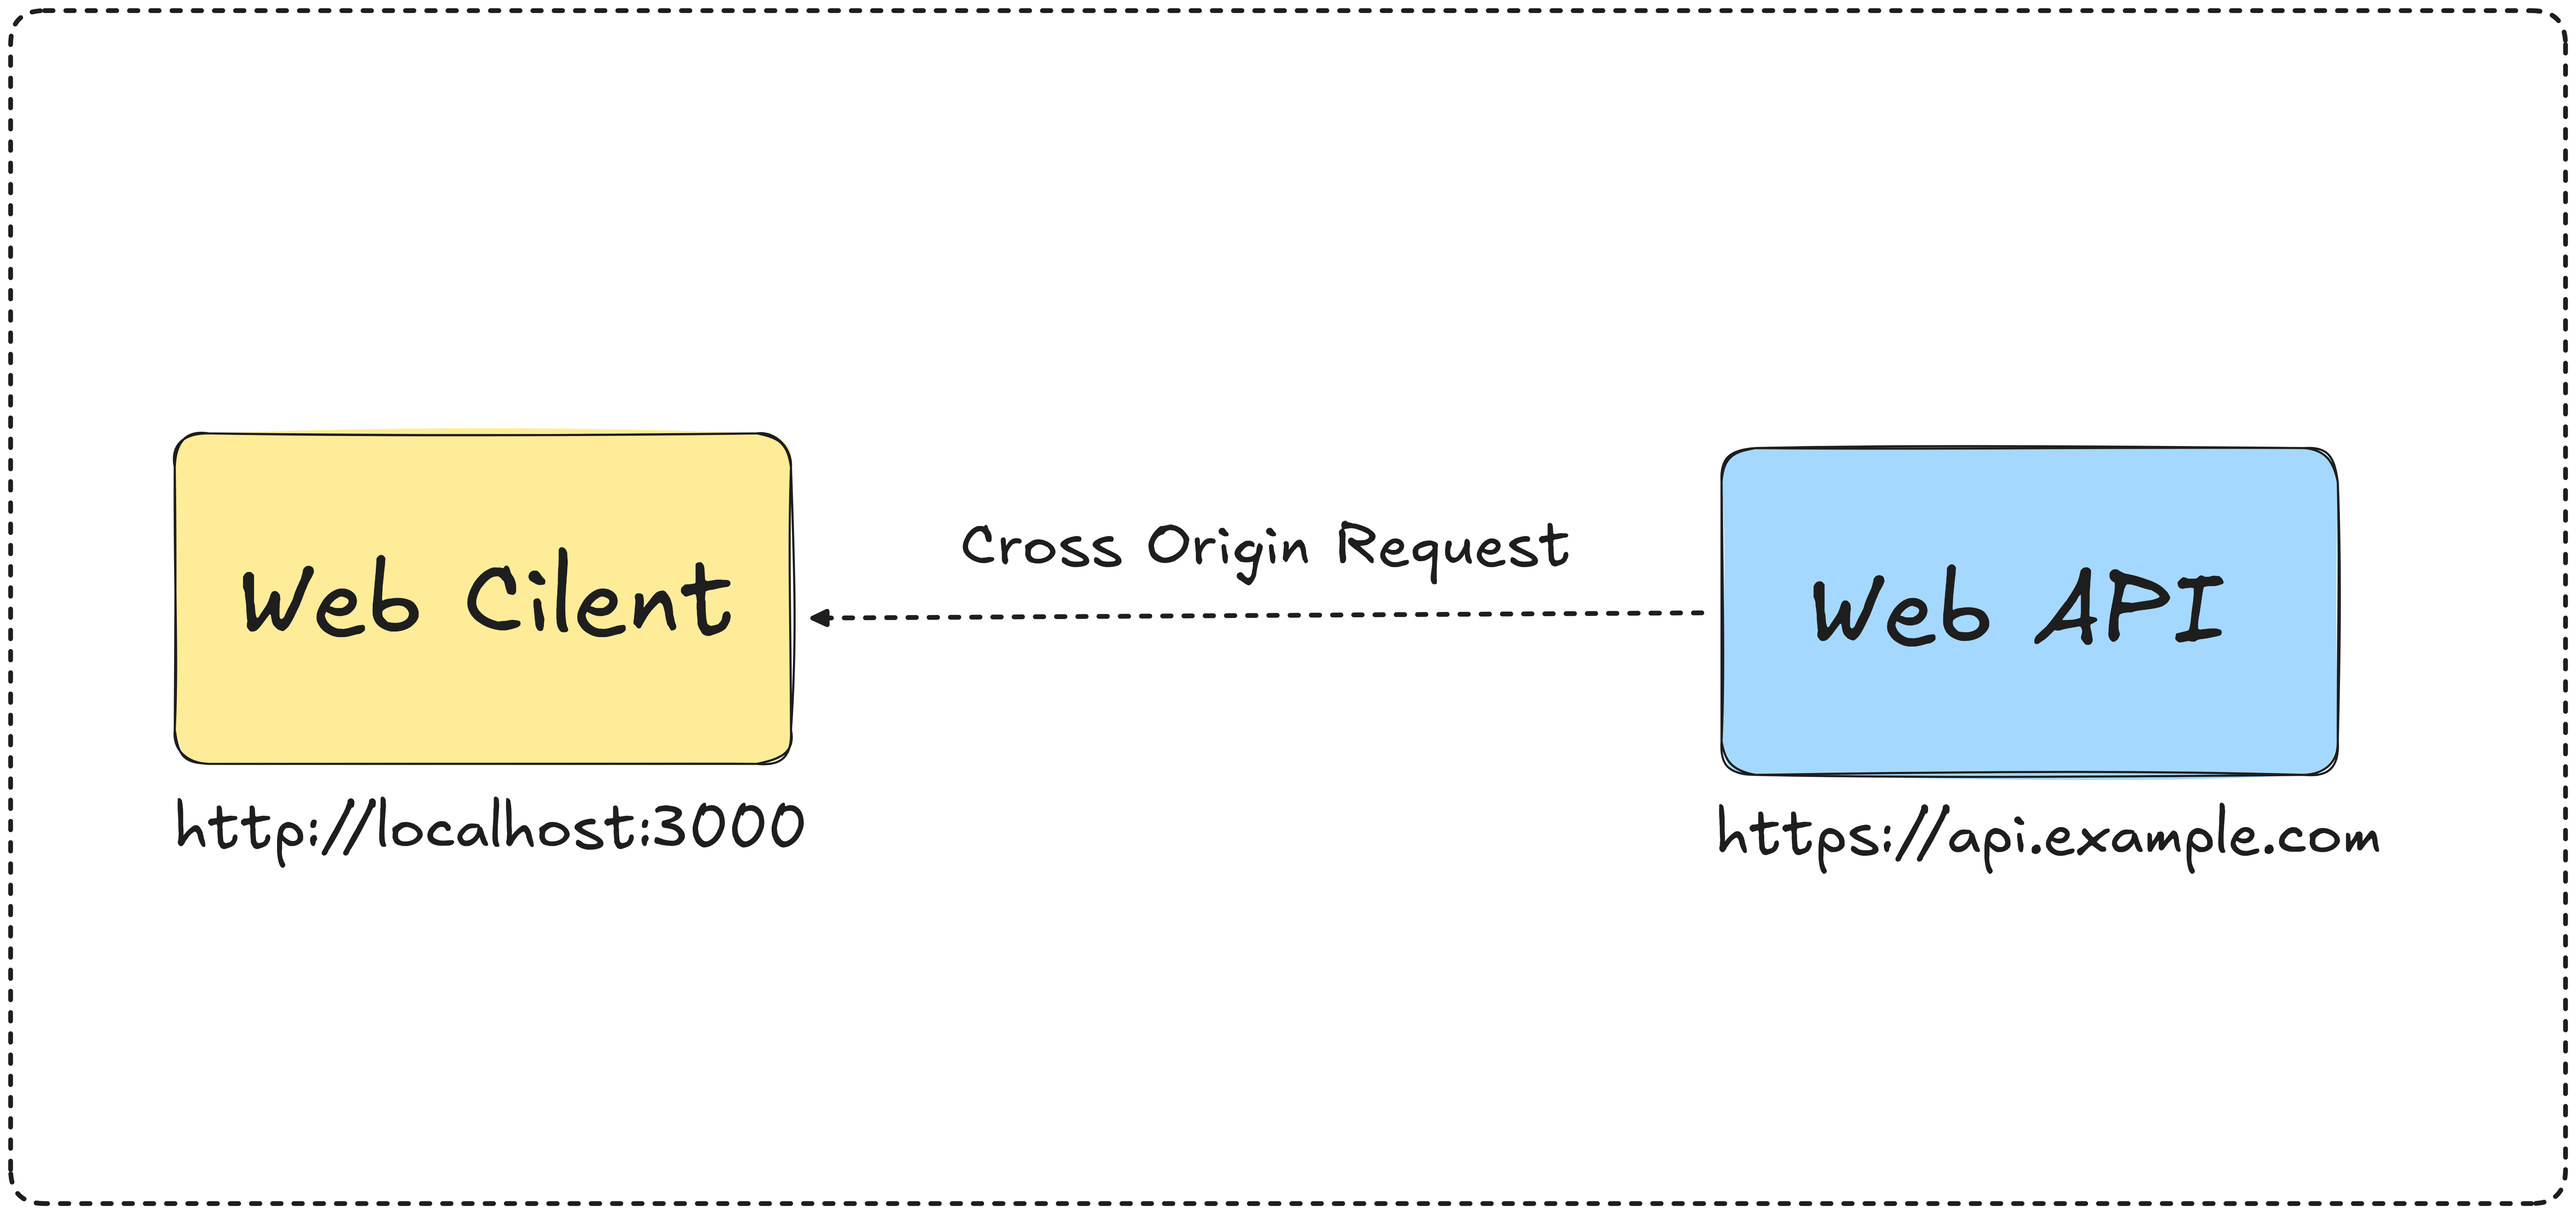
If you’ve ever tried calling your ASP.NET Core API from a frontend app (like React, Angular, or Vue) and ran into the dreaded:
Access to fetch at 'https://api.example.com' from origin 'http://localhost:3000'
has been blocked by CORS policy: No 'Access-Control-Allow-Origin' header is present...
…then you’ve met CORS.
But don’t worry — in this article, we’ll break down what CORS is, why it matters, and how to configure it in ASP.NET Core (9+) with practical examples
🧐 What is CORS?
CORS (Cross-Origin Resource Sharing) is a browser security feature that controls how web apps running at one origin (domain, port, or protocol) can request resources from another origin.
Same-origin request ✅ Allowed (e.g.,
http://example.com → http://example.com)Cross-origin request ❌ Blocked by default (e.g.,
http://localhost:3000 → https://api.example.com)
CORS is enforced only by browsers, not by tools like Postman or curl.
⚡ Enabling CORS in ASP.NET Core
ASP.NET Core has built-in support for CORS. You just need to:
Register CORS policies in
Program.csApply those policies globally or to specific endpoints
🛠 Step 1: Add CORS Services
Open your Program.cs (or Startup.cs in older projects):
var builder = WebApplication.CreateBuilder(args);

// Register CORS policy
builder.Services.AddCors(options =>
{
    options.AddPolicy("AllowLocalhost3000", policy =>
    {
        policy.WithOrigins("http://localhost:3000") // frontend app
              .AllowAnyHeader()
              .AllowAnyMethod();
    });

    // Example: Open for all origins (⚠️ not recommended for production)
    options.AddPolicy("AllowAll", policy =>
    {
        policy.AllowAnyOrigin()
              .AllowAnyHeader()
              .AllowAnyMethod();
    });
});

builder.Services.AddControllers();

var app = builder.Build();
🛠 Step 2: Apply CORS Middleware
In the request pipeline:
app.UseRouting();

// Apply globally
app.UseCors("AllowLocalhost3000");

// Or selectively per controller/action
// [EnableCors("AllowLocalhost3000")]
// [DisableCors] // To disable at specific endpoints

app.MapControllers();

app.Run();
🎯 Example: Per-Controller CORS
Instead of applying CORS globally, you can decorate controllers with [EnableCors]:
[ApiController]
[Route("api/[controller]")]
[EnableCors("AllowLocalhost3000")]
public class WeatherController : ControllerBase
{
    [HttpGet]
    public IActionResult GetWeather() => Ok(new { Temp = "28°C", Condition = "Sunny" });
}
Or disable CORS for a specific action:
[HttpGet("internal")]
[DisableCors]
public IActionResult InternalEndpoint() => Ok("No CORS here");
🎯 Example: With Minimal Endpoints
app.MapGet("/weatherforecast", () =>
{
    var forecast = GetWeatherForecasts();
    return forecast;
})
.RequireCors("CorsPolicy");
🕵️ Understanding Preflight Requests (OPTIONS)
When you send certain cross-origin requests (like POST with custom headers or PUT/DELETE), the browser doesn’t go straight to your API. Instead, it first sends a preflight request (an OPTIONS call) to check if the server allows it.
Example preflight headers from the browser:
OPTIONS /api/weather HTTP/1.1
Origin: http://localhost:3000
Access-Control-Request-Method: POST
Access-Control-Request-Headers: Content-Type, Authorization
If your ASP.NET Core API responds with the right CORS headers (Access-Control-Allow-Origin, Access-Control-Allow-Methods, etc.), the browser proceeds with the actual request.
⏱ Optimizing Preflight with SetPreflightMaxAge
By default, browsers may send preflight requests very frequently, which can slow down your app.
ASP.NET Core lets you control how long the preflight response can be cached on the client (browser) using SetPreflightMaxAge.
builder.Services.AddCors(options =>
{
    options.AddPolicy("AllowLocalhost3000", policy =>
    {
        policy.WithOrigins("http://localhost:3000")
              .AllowAnyHeader()
              .AllowAnyMethod()
              .SetPreflightMaxAge(TimeSpan.FromHours(1)); // cache preflight for 1 hour
    });
});
This tells the browser:
👉 “You can reuse the preflight result for 1 hour before asking again.”
⚠️ Note: Some browsers cap the maximum allowed cache duration (e.g., Chrome caps at 2 hours).
✅ With this, your API becomes faster because browsers won’t constantly re-check CORS rules for every cross-origin call.
🔒 Best Practices for CORS in Production
✅ Allow only trusted origins (avoid AllowAnyOrigin() in production).
✅ Enable HTTPS everywhere.
✅ Use different policies for dev, staging, and production.
✅ Log and monitor CORS rejections if debugging tricky issues.
🖼 CORS Workflow Diagram
Here’s a simplified flow:
Browser (React, Angular, etc.)
         │
         │  (OPTIONS preflight request)
         ▼
ASP.NET Core API ───> CORS Policy ───> Allow or Block
Simple request → Sent directly (GET, POST without custom headers)
Preflight request → Browser sends
OPTIONSrequest first, checks headers, then proceeds
✅ Final Thoughts
CORS may feel like a hurdle when you first hit it, but it’s a crucial security layer.
With just a few lines in Program.cs, you can control who can access your ASP.NET Core APIs and make your frontend-backend communication smooth.
So next time your browser throws that red CORS error, you’ll know exactly what’s happening and how to fix it. 🚀
✍️ If you found this useful, drop a comment or share it with your fellow developers. Let’s make cross-origin errors a thing of the past!
👉 Full working code available at:
🔗https://sourcecode.kanaiyakatarmal.com/cors
I hope you found this guide helpful and informative.
Thanks for reading!
If you enjoyed this article, feel free to share it and follow me for more practical, developer-friendly content like this.