
Rate Limiting Techniques in .NET Core
Rate limiting is essential for controlling traffic, protecting APIs, and ensuring fair usage. In .NET Core, you can implement various rate limiting algorithms depending on your scenario.

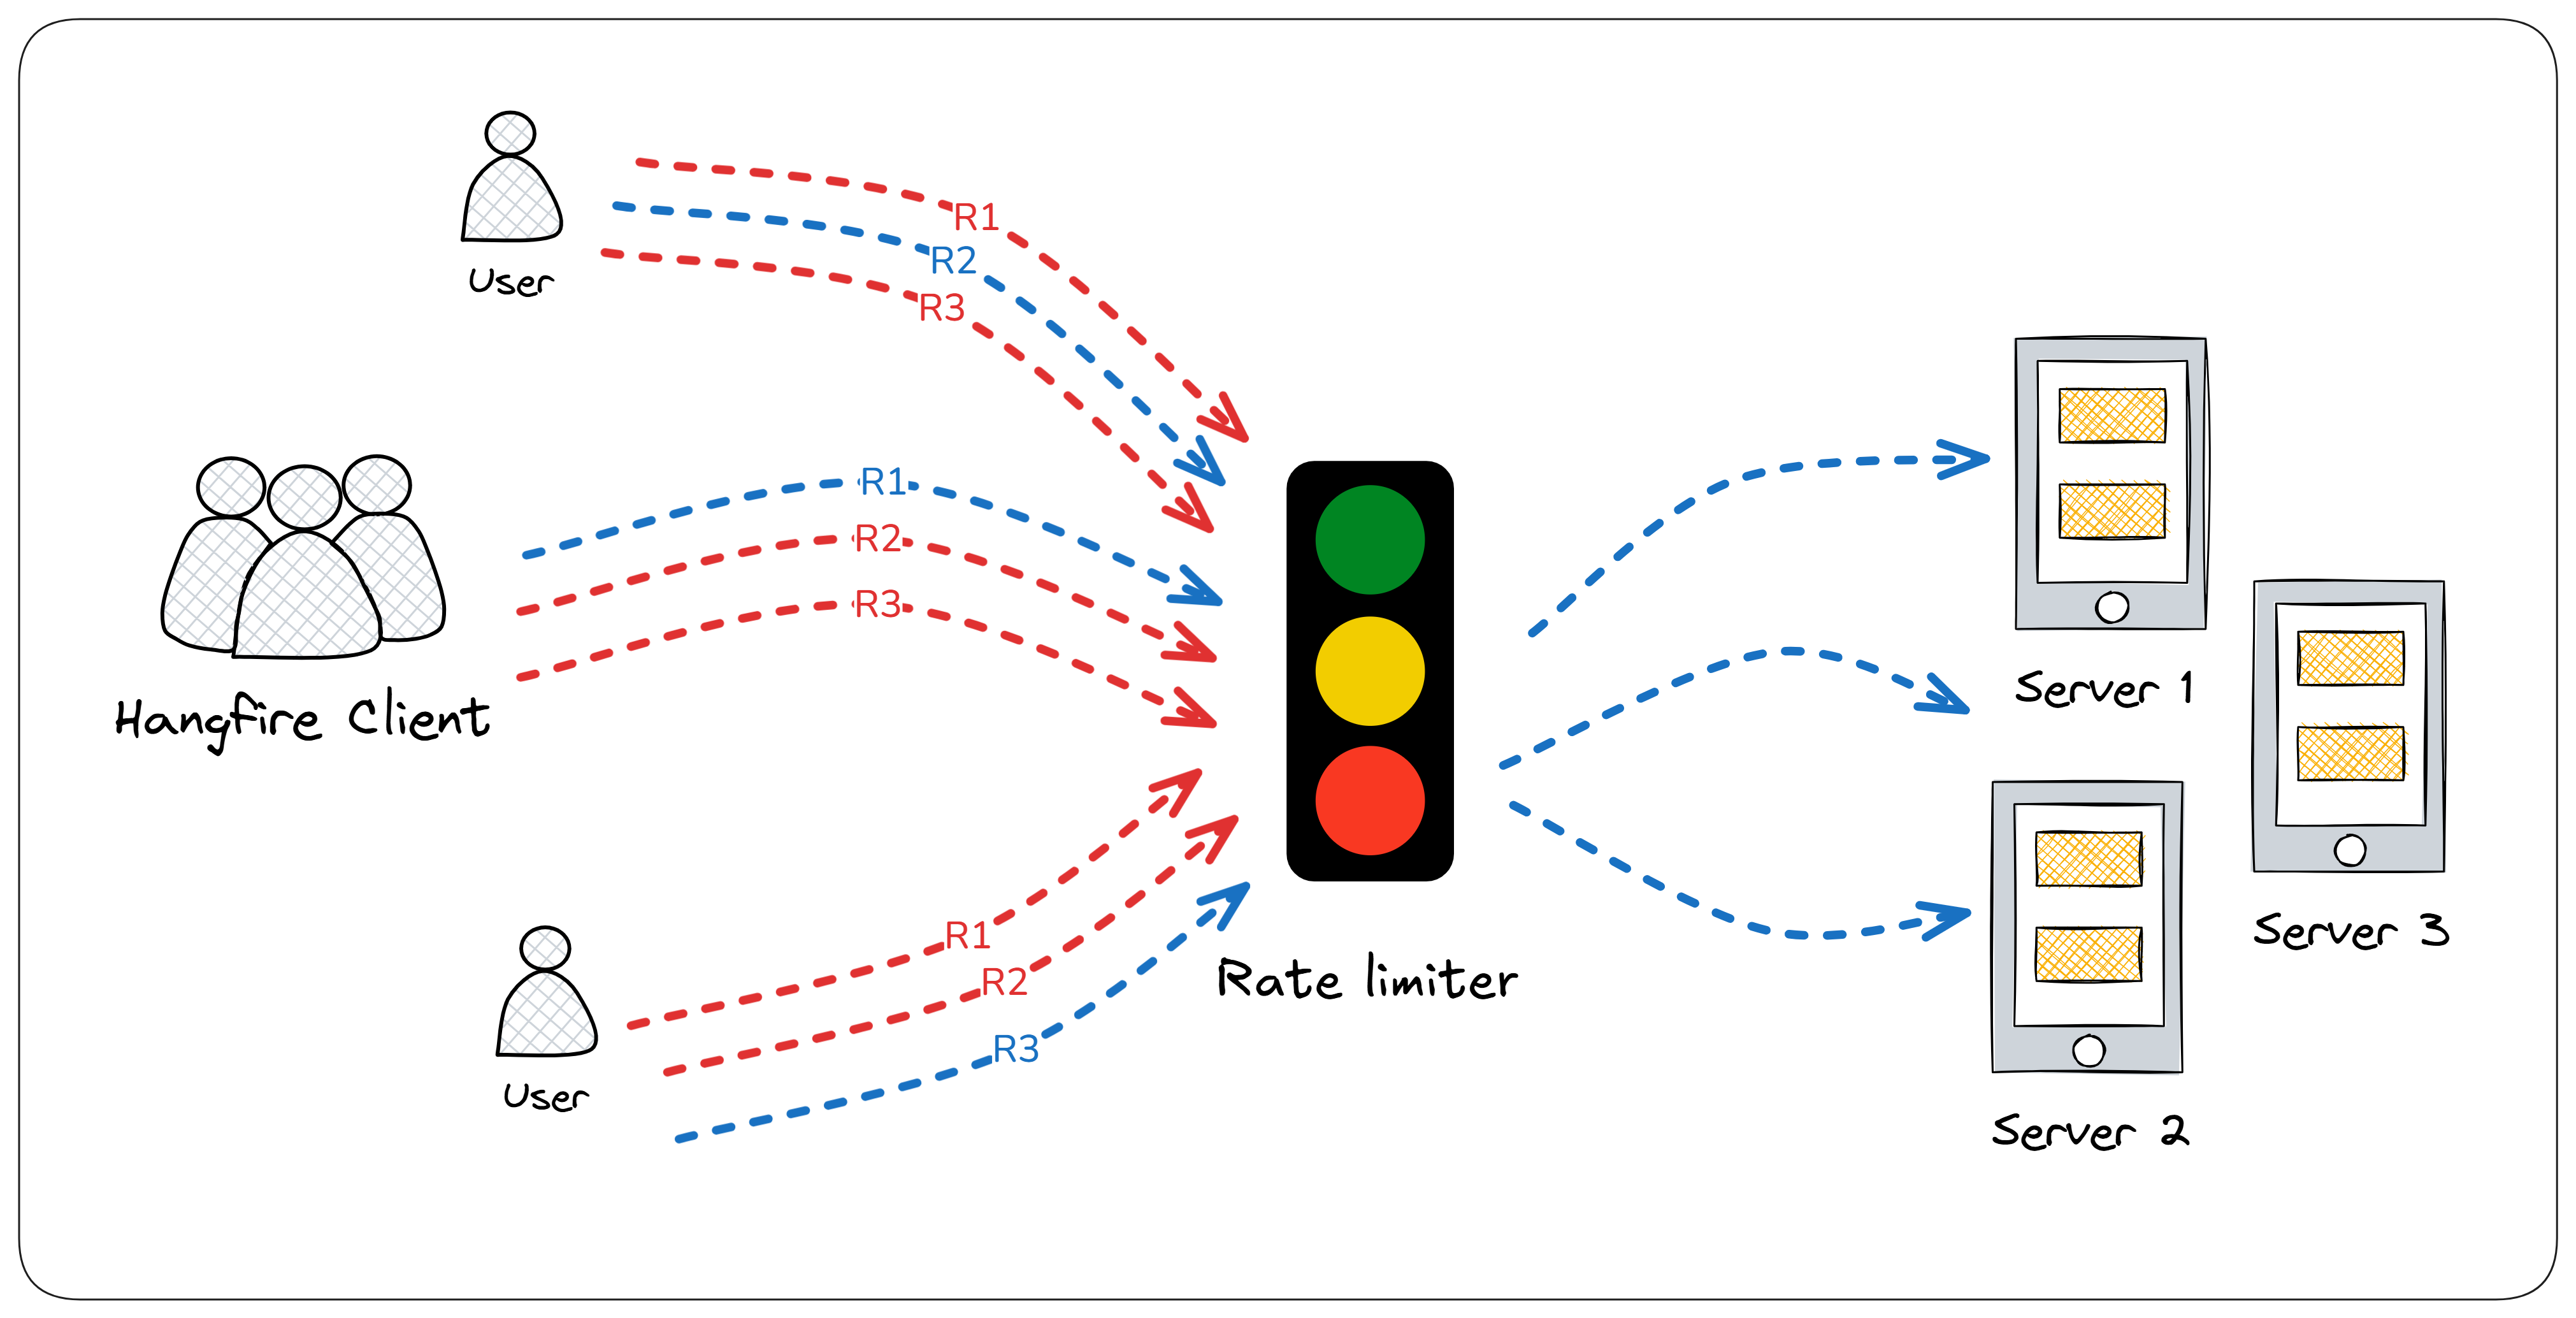
🛑 What is Rate Limiting?
Rate Limiting is a technique used to control the number of requests a client can make to a server within a specific time period.
It's commonly used to:
🚫 Prevent abuse (e.g., spamming login attempts)
🌐 Manage traffic during high load
💸 Control resource usage (e.g., third-party API costs)
🧑⚖️ Ensure fair usage across multiple clients
📈 Real-World Example
Imagine an API that allows users to fetch stock prices.
Without rate limiting:
A single user could make thousands of requests in a second, crashing the system or making it slow for everyone else.
With rate limiting:
You can allow 100 requests per minute per user. If they exceed that, they get a 429 Too Many Requests response.
🔢 Common Types of Rate Limiting Algorithms
1️⃣ Fixed Window Rate Limiter
📘 Concept:
Divides time into fixed-length intervals (windows) and counts the number of requests per client/IP within each window.
🕒 Example:
Allow max 100 requests per minute.
If client makes 100 requests in first 10 seconds, no more are allowed until the next minute.
✅ Pros:
Simple to implement.
Easy to reason about.
❌ Cons:
Allows bursts at window edges (100 requests at 59s, then 100 again at 60s).
Can lead to spikes.
📌 Use Case:
Basic per-user or per-IP API rate limits.
2️⃣ Sliding Window Rate Limiter
📘 Concept:
Improves on fixed window by using rolling time periods.
It divides time into segments and calculates limits based on activity in overlapping windows.
🕒 Example:
Allow 100 requests per 60 seconds using 6 × 10-second segments.
Instead of resetting at minute boundaries, it always checks the past 60 seconds.
✅ Pros:
Smoother distribution of requests.
Reduces burst traffic issues.
❌ Cons:
Slightly more complex to implement.
📌 Use Case:
APIs needing steady traffic, like payment gateways or messaging systems.
3️⃣ Token Bucket Rate Limiter
📘 Concept:
A "bucket" holds tokens. Each request consumes one token. Tokens are added at a fixed rate (refill).
If the bucket is empty, the request is rejected or delayed.
🕒 Example:
Bucket size = 20 tokens.
Refill rate = 5 tokens every 10 seconds.
If 20 requests come quickly, user must wait for tokens to refill.
✅ Pros:
Allows short bursts of requests.
More flexible than fixed/sliding windows.
Smooth refill behavior.
❌ Cons:
Needs background task or timer to refill tokens.
📌 Use Case:
Public APIs, bursty traffic (e.g., social apps, IoT sensors).
4️⃣ Concurrency Limiter
📘 Concept:
Limits the number of concurrent in-flight requests. Once the limit is reached, further requests are queued or rejected.
🕒 Example:
Allow max 5 concurrent requests. 6th request must wait until one of the previous completes.
✅ Pros:
Prevents backend overload.
Protects shared resources (e.g., DB or disk I/O).
❌ Cons:
Needs careful handling of long-running operations.
📌 Use Case:
Microservices, long-running APIs, DB-heavy endpoints.
Configuring Rate Limiting
1️⃣ Fixed Window
Limits requests per fixed interval (e.g., 100 requests per minute).
📦 Example: 100 requests per minute per IP
builder.Services.AddRateLimiter(options =>
{
    options.AddFixedWindowLimiter(policyName: "FixedWindow", limiterOptions =>
    {
        limiterOptions.Window = TimeSpan.FromMinutes(1);
        limiterOptions.PermitLimit = 100;
        limiterOptions.QueueProcessingOrder = QueueProcessingOrder.OldestFirst;
        limiterOptions.QueueLimit = 0;
    });
});

app.UseRateLimiter();

app.MapGet("/fixed", () => "Fixed Window Rate Limit")
    .RequireRateLimiting("FixedWindow");
2️⃣ Sliding Window
Divides time into segments, averages requests across overlapping intervals.
📦 Example: Max 10 requests in 60 seconds, sliding every 30 seconds
builder.Services.AddRateLimiter(options =>
{
    options.AddSlidingWindowLimiter("SlidingWindow", o =>
    {
        o.PermitLimit = 10;
        o.Window = TimeSpan.FromSeconds(10);
        o.SegmentsPerWindow = 2; // Number of sub-segments in the window
        o.QueueProcessingOrder = QueueProcessingOrder.OldestFirst;
        o.QueueLimit = 5;
    });
});

app.MapGet("/sliding", () => "Sliding Window Rate Limit")
    .RequireRateLimiting("SlidingWindow");
3️⃣ Token Bucket
Tokens refill over time. Requests consume tokens.
📦 Example: 5 tokens per second, burst up to 10
builder.Services.AddRateLimiter(options =>
{
    options.AddTokenBucketLimiter("TokenBucket", o =>
    {
        o.TokenLimit = 10;
        o.TokensPerPeriod = 5;
        o.ReplenishmentPeriod = TimeSpan.FromSeconds(1);
        o.AutoReplenishment = true;
    });
});

app.MapGet("/token", () => "Token Bucket Rate Limit")
    .RequireRateLimiting("TokenBucket");
4️⃣ Concurrency Limiter
Limits the number of concurrent executions of a resource.
📦 Example: Max 2 concurrent requests
builder.Services.AddRateLimiter(options =>
{
    options.AddConcurrencyLimiter("Concurrency", o =>
    {
        o.PermitLimit = 2;
        o.QueueLimit = 0;
    });
});

app.MapGet("/concurrency", async () =>
{
    await Task.Delay(3000); // simulate work
    return "Concurrency limit passed";
})
.RequireRateLimiting("Concurrency");
✅ Summary Table

🧠 Explanation of Key Options
PermitLimit :- Maximum number of permits allowed in a window
Window :- Total duration of the sliding window (e.g., 10 seconds)
SegmentsPerWindow :- Divides the window into parts (e.g., 2 = 5s segments in 10s window)
QueueLimit :- Number of requests allowed to wait in queue
QueueProcessingOrder :- Determines if oldest or newest request in queue gets priority (usually OldestFirst)
🛠️ Which Rate Limiter Should You Use?
Fixed Window: For simple limits like "100 requests/min".
Sliding Window: When smooth enforcement is needed.
Token Bucket: For bursty applications with refill.
Leaky Bucket: When even output rate is crucial.
Concurrency: When backend systems need protection from simultaneous heavy load.
💡 Bonus: Hybrid Strategies
In real-world systems, you can combine limiters for better control:
Token Bucket + Concurrency: Allow burst + cap load.
Sliding Window + Concurrency: Smooth request flow + protect system.
I hope you found this guide helpful and informative.
Thanks for reading!
If you enjoyed this article, feel free to share it and follow me for more practical, developer-friendly content like this.